In an age where sustainability and self-sufficiency are increasingly important, many RV enthusiasts and campers are turning to solar energy. A camper solar panel kit allows you to harness the sun’s power, providing a reliable energy source for your adventures. In this comprehensive guide, we will explore everything you need to know about camper solar panel kits, from their components to installation and maintenance.
Understanding the Basics of Camper Solar Panel Kits
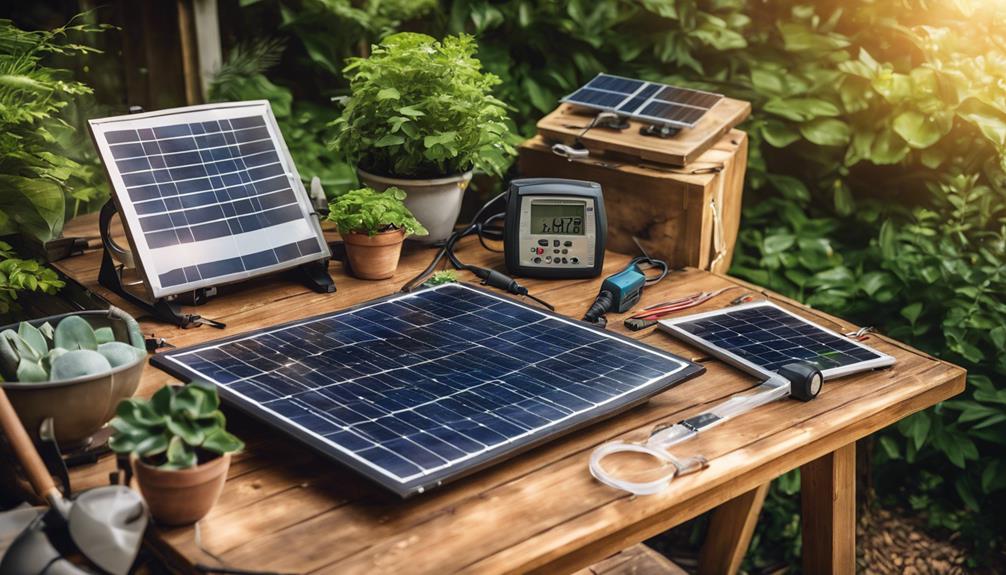
A camper solar panel kit typically includes solar panels, a charge controller, an inverter, and all necessary wiring. The primary function of these kits is to convert sunlight into usable electricity. The solar panels collect solar energy, which is then converted from direct current (DC) to alternating current (AC) by the inverter, allowing you to power various devices in your camper. Kits come in different sizes and configurations, making it essential to choose one that meets your power needs.
Benefits of Installing a Camper Solar Panel Kit
Investing in a camper solar panel kit offers numerous advantages. Firstly, it provides energy independence, allowing you to camp in remote locations without worrying about finding a power source. Secondly, solar energy is renewable and eco-friendly, reducing your carbon footprint. Additionally, using solar power can save you money on fuel costs and campground fees that charge for electricity. Finally, many campers appreciate the quiet, pollution-free operation of solar panels, enhancing the overall camping experience.
Choosing the Right Size for Your Camper Solar Panel Kit
When selecting a camper solar panel kit, size matters. The power output of the solar panels is measured in watts, and it’s critical to assess your energy consumption to determine the right kit for your needs. Start by calculating the total watt-hours of the devices you plan to use. For example, if you have a 200-watt refrigerator that runs for 5 hours daily, it consumes 1000 watt-hours. Based on this, you can choose a solar panel kit with an appropriate output to meet or exceed your daily energy needs.
Components of a Camper Solar Panel Kit Explained
A typical camper solar panel kit consists of several key components:
1. Solar Panels: These are the heart of the kit, converting sunlight into electricity.
2. Charge Controller: This device regulates the voltage and current coming from the solar panels, preventing battery overcharging.
3. Inverter: Converts the DC electricity from the solar panels into AC electricity, which can power household appliances.
4. Batteries: Store excess energy generated during the day for use at night or on cloudy days.
5. Wiring and Mounting Hardware: Connects all components and secures the panels to your camper.
Understanding each component will help you make informed decisions when purchasing a camper solar panel kit.
Installation Process for Your Camper Solar Panel Kit
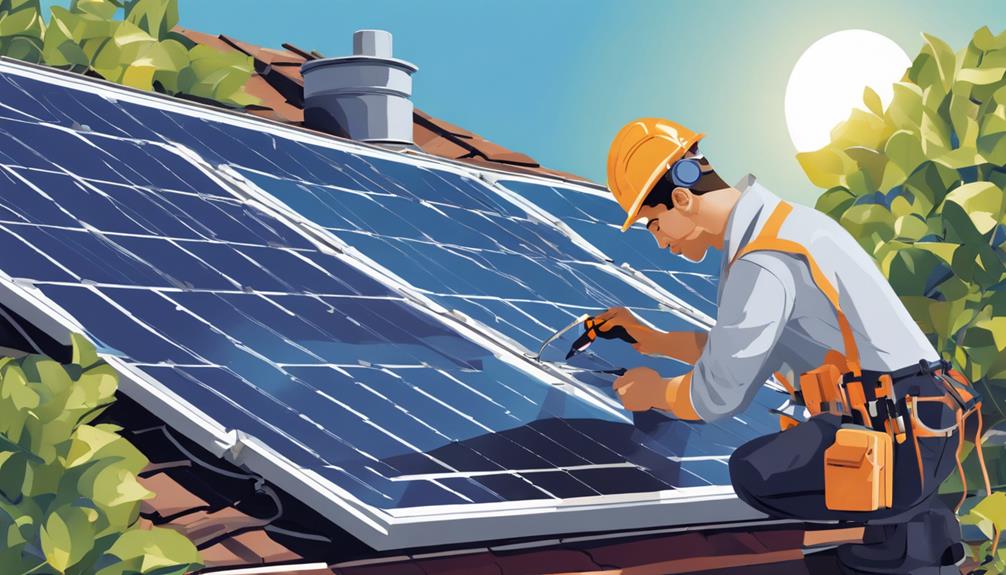
Installing a camper solar panel kit can be a rewarding DIY project. Follow these steps for a successful installation:
1. Choose a Location: Find a suitable spot on your camper’s roof that receives maximum sunlight exposure.
2. Mount the Solar Panels: Use mounting brackets to secure the solar panels to the roof. Ensure they are positioned at an angle for optimal sunlight capture.
3. Connect the Charge Controller: Install the charge controller near the battery and connect it to the solar panels and battery.
4. Install the Inverter: Place the inverter in a well-ventilated area inside the camper and connect it to the battery.
5. Wire Everything Together: Follow the manufacturer’s instructions to connect all components, ensuring all connections are secure.
If you are unsure about any part of the installation, consider hiring a professional to ensure everything is set up correctly.
Maintaining Your Camper Solar Panel Kit
Regular maintenance is crucial for ensuring the longevity and efficiency of your camper solar panel kit. Here are some tips to keep your system in top shape:
1. Clean the Solar Panels: Dust and debris can reduce your panels’ efficiency. Clean them periodically with water and a soft cloth.
2. Check Connections: Inspect all wiring and connections for signs of wear or corrosion. Tighten any loose connections.
3. Monitor Battery Health: Regularly check the battery’s charge levels and look for any signs of swelling or leakage, which may indicate a problem.
4. Test the System: Periodically test the entire system to ensure everything is functioning correctly and that you are generating enough power.
By following these maintenance tips, you can extend the life of your camper solar panel kit and ensure it operates efficiently.
Common Misconceptions About Camper Solar Panel Kits
There are several misconceptions surrounding camper solar panel kits that can deter potential users. One common myth is that solar panels are only effective in sunny locations. While sunlight is crucial for energy generation, solar panels can still produce electricity on cloudy days, albeit at a reduced rate. Another misconception is that solar kits are too expensive. While the initial investment can be significant, the long-term savings on fuel and campground fees often outweigh the costs. Understanding these misconceptions can help you make an informed decision about investing in solar energy for your camper.
Conclusion: Embrace Solar Power for Your Camping Adventures
A camper solar panel kit is a valuable addition to any RV or camping setup, offering energy independence and sustainability. By understanding the components, benefits, and maintenance of these systems, you can make an informed choice that enhances your outdoor experience. As you embark on your next camping adventure, consider harnessing the power of the sun to make your trips more enjoyable and environmentally friendly. With the right solar setup, you can enjoy the freedom of the open road while minimizing your impact on the planet. Embrace the solar revolution and elevate your camping experiences today!


