The Spypoint solar panel is an innovative accessory designed to enhance the functionality of trail cameras, particularly in remote locations. By harnessing solar energy, this device ensures that your camera remains powered for extended periods without the need for frequent battery replacements. In this blog post, we will explore the benefits, installation process, maintenance tips, and more about the Spypoint solar panel.
What is a Spypoint Solar Panel?
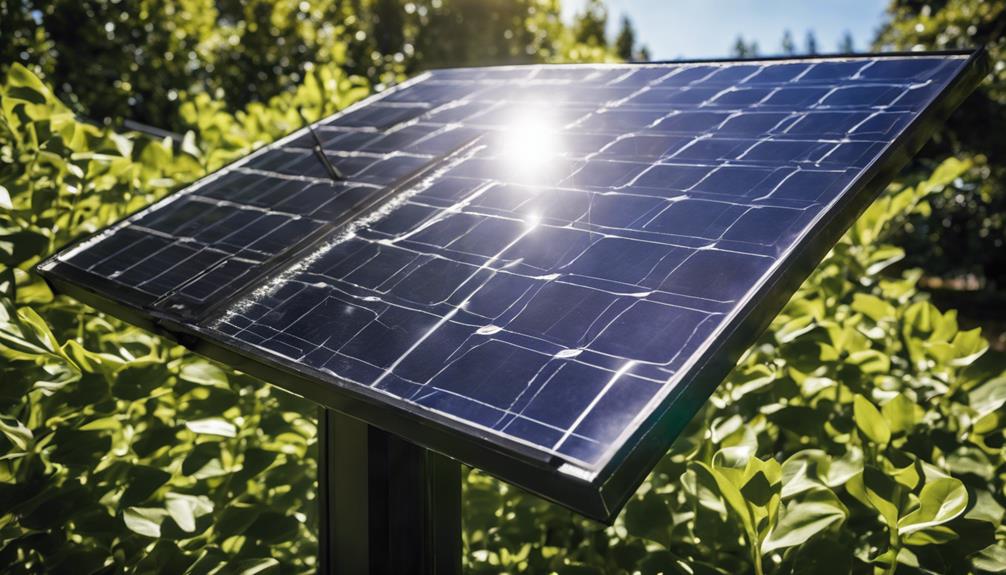
The Spypoint solar panel is a compact, lightweight solar energy solution specifically designed for use with Spypoint trail cameras. It utilizes solar cells to convert sunlight into electrical energy, which then powers the camera or recharges its batteries. This eco-friendly option eliminates the hassle of constantly replacing batteries, allowing wildlife enthusiasts and hunters to focus on capturing high-quality images and videos without the worry of power loss. The Spypoint solar panel is particularly useful for those who place cameras in remote locations where access to power sources is limited.
Benefits of Using a Spypoint Solar Panel
There are numerous advantages to using a Spypoint solar panel with your trail camera. Firstly, it significantly extends the operational time of your camera. By relying on solar energy, the panel reduces the need for battery replacements, which can be costly and time-consuming. Additionally, using a solar panel is environmentally friendly, reducing electronic waste and the carbon footprint associated with disposable batteries. Furthermore, a solar-powered camera setup minimizes interruptions in wildlife monitoring, ensuring that you capture every moment without the inconvenience of dead batteries.
How to Install Your Spypoint Solar Panel
Installing a Spypoint solar panel is a straightforward process that can be completed in just a few steps. Begin by selecting an optimal location for both your trail camera and solar panel. Ideally, the solar panel should be positioned in an area that receives ample sunlight throughout the day. Once you’ve identified the ideal spot, follow these steps:
1. **Mount the Solar Panel**: Use the included mounting brackets to secure the solar panel to a tree or post. Ensure that the panel faces south to maximize sunlight exposure.
2. **Connect the Solar Panel to the Camera**: Use the provided cable to connect the solar panel to your Spypoint trail camera. This connection will allow the panel to supply power directly to the camera.
3. **Adjust the Angle**: If your solar panel has an adjustable angle, tilt it to maximize exposure to the sun, especially during peak sunlight hours.
4. **Test the Setup**: Once everything is connected, power on your camera to ensure it functions properly with the solar panel.
Following these steps will guarantee a successful installation, allowing for continuous operation of your trail camera.
Maintaining Your Spypoint Solar Panel
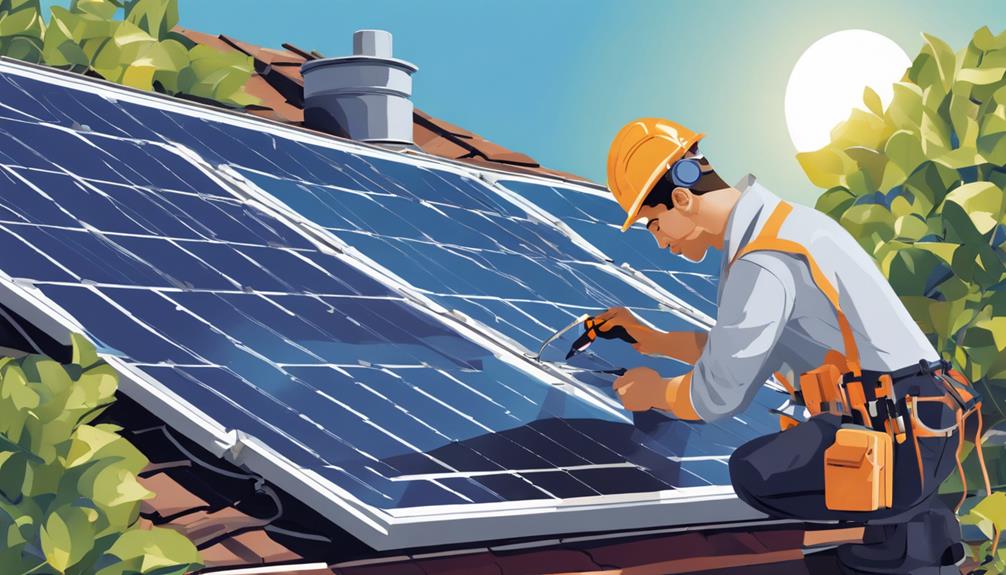
Proper maintenance of your Spypoint solar panel is essential to ensure its longevity and efficiency. Here are some tips to keep your solar panel in optimal condition:
– **Regular Cleaning**: Dust, dirt, and debris can accumulate on the surface of the solar panel, reducing its efficiency. Use a soft cloth or sponge to gently wipe the panel clean on a regular basis.
– **Check Connections**: Periodically inspect the connections between the solar panel and camera to ensure they are secure and free from corrosion.
– **Monitor Sunlight Exposure**: If possible, adjust the position of the solar panel if you notice that it is not receiving adequate sunlight due to surrounding vegetation or obstructions.
– **Seasonal Adjustments**: Depending on the season, you may need to adjust the angle or position of the solar panel to optimize sunlight exposure, particularly in winter months when the sun is lower in the sky.
By following these maintenance tips, you can maximize the performance and lifespan of your Spypoint solar panel.
Comparing Solar Panels to Traditional Battery Power
When it comes to powering trail cameras, many users often wonder whether they should opt for a solar panel or stick with traditional battery power. While conventional batteries may be more familiar, solar panels like the Spypoint offer several distinct advantages.
Firstly, solar panels provide a continuous power source, eliminating the worry of batteries dying unexpectedly. This is especially crucial for long-term wildlife monitoring, where missing a critical moment can be disappointing. Secondly, the cost-effectiveness of solar power cannot be ignored. While the initial investment in a Spypoint solar panel may be higher than purchasing batteries, the long-term savings on battery replacements can add up significantly. Additionally, solar panels are environmentally friendly, reducing waste and promoting sustainable energy use.
How to Choose the Right Spypoint Solar Panel for Your Needs
When selecting a Spypoint solar panel, consider several factors to ensure you choose the right model for your specific needs. Firstly, check the compatibility of the solar panel with your Spypoint trail camera model. Not all solar panels are universal, so it’s important to ensure that the panel you choose is designed to work with your camera.
Next, evaluate your typical usage patterns. If you plan to set up your camera in a location where sunlight exposure is limited, consider investing in a higher-capacity solar panel that can store more energy. Furthermore, think about the size and weight of the panel, especially if you plan to hike to remote locations. A lightweight and compact design will make transport much easier.
Lastly, read customer reviews and testimonials to gauge the performance and reliability of different Spypoint solar panel models. This will help you make an informed decision that aligns with your wildlife monitoring goals.
Tips for Maximizing Your Wildlife Monitoring with a Spypoint Solar Panel
To get the most out of your Spypoint solar panel and trail camera setup, consider implementing these practical tips:
1. **Plan Your Camera Location**: Scout locations that not only have abundant wildlife activity but also receive adequate sunlight.
2. **Use Multiple Cameras**: If you’re monitoring a large area, consider using multiple trail cameras connected to solar panels. This will provide a comprehensive view of wildlife movement across various locations.
3. **Optimize Camera Settings**: Adjust the camera settings to capture images or videos only during specific times or triggers. This will help conserve power and extend the life of your solar panel setup.
4. **Be Patient**: Wildlife monitoring often requires patience. Allow your cameras to run for extended periods to capture the best footage.
By following these tips, you’ll enhance your wildlife monitoring experience and make the most of your Spypoint solar panel investment.
Conclusion: Embrace Sustainable Wildlife Monitoring with Spypoint Solar Panels
In conclusion, the Spypoint solar panel is a game-changer for wildlife enthusiasts and hunters looking to optimize their trail camera setups. By providing a sustainable power source, this innovative accessory eliminates the need for frequent battery changes, enhancing convenience and efficiency. With proper installation and maintenance, the Spypoint solar panel can significantly improve your wildlife monitoring experience, ensuring you capture every moment in the wild. Embrace the benefits of solar power today and elevate your outdoor adventures with Spypoint.


