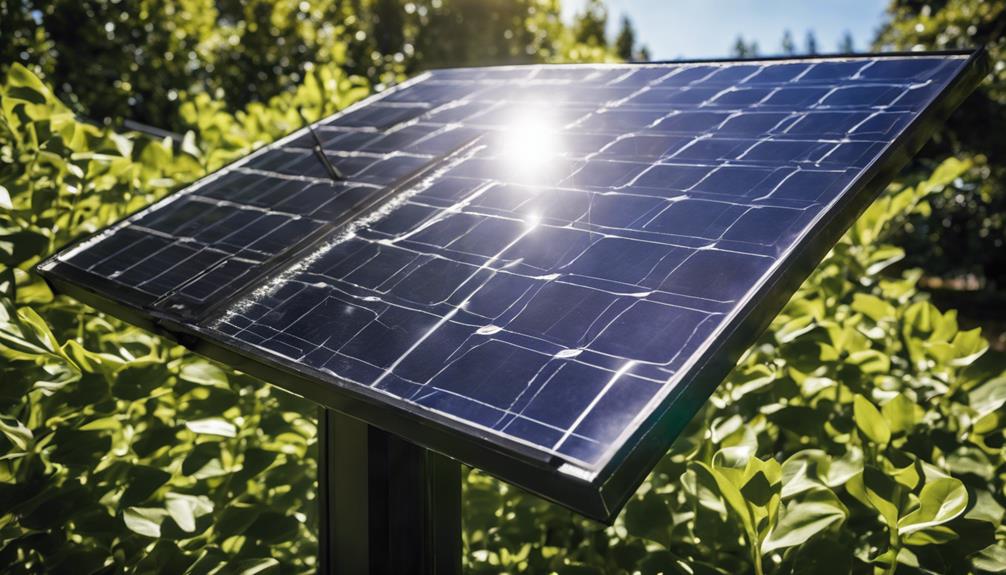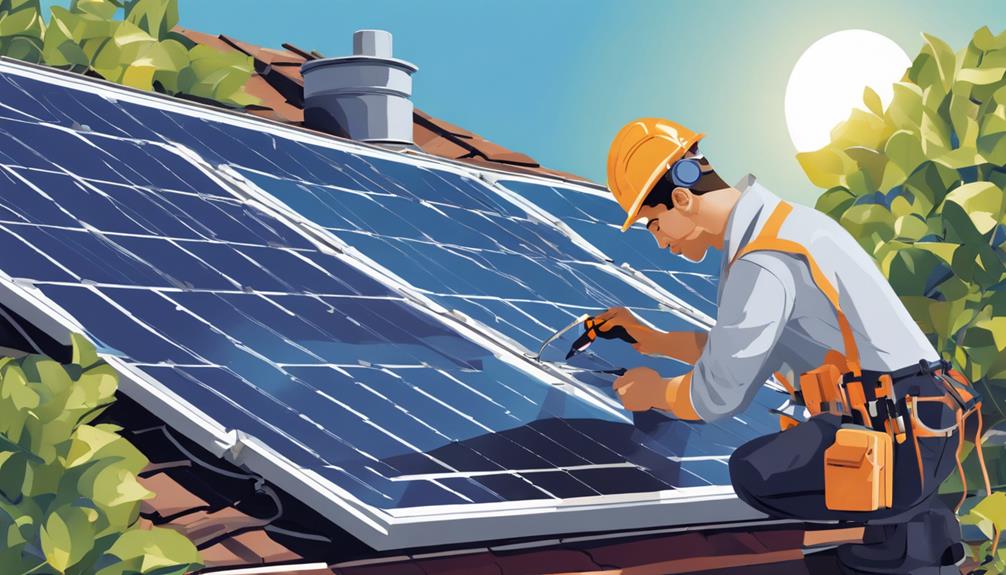
As the world shifts toward renewable energy sources, solar power has emerged as a leading option for homeowners and businesses alike. Understanding how to wire solar panels is crucial for anyone looking to harness the sun’s energy effectively. This guide will provide you with a step-by-step approach, ensuring you have the knowledge you need to get started with solar panel wiring.
Understanding Solar Panel Basics
Before diving into the intricacies of how to wire solar panels, it’s essential to grasp the basic components of a solar power system. A typical solar panel setup includes solar panels, an inverter, a charge controller, and batteries (if applicable). Solar panels convert sunlight into electricity, the inverter transforms this electricity into usable AC power, and the charge controller manages the power flow to prevent battery overcharging. Familiarizing yourself with these components and their functions will make the wiring process much smoother.
Gathering Essential Tools and Materials
To successfully wire solar panels, you will need a variety of tools and materials. Start with a basic toolkit that includes a multimeter, wire cutters, and strippers, as well as screwdrivers. For wiring, consider using high-quality solar cables that are UV resistant and rated for outdoor use. Additionally, you will need connectors (MC4 connectors are common), mounting brackets, and possibly a junction box for connecting multiple solar panels. Having all these tools and materials at hand will streamline the wiring process.
Planning Your Solar Panel Layout
Before you begin wiring your solar panels, it’s crucial to plan your layout. Determine the best placement for your solar panels based on sun exposure, roof angle, and shading from trees or buildings. Sketch out your layout, noting where each panel will be installed and how they will connect to each other and to the inverter. A well-thought-out layout not only improves efficiency but also simplifies the wiring process.
Connecting Solar Panels in Series vs. Parallel
Understanding how to connect your solar panels is vital for an efficient system. You can wire solar panels in either series or parallel, each method offering distinct advantages. Wiring in series increases the voltage output while keeping the current the same, making it ideal for long-distance runs. Conversely, wiring in parallel keeps the voltage constant and increases the current, useful for situations where panels are getting different amounts of sunlight. Evaluating your specific needs will help you choose the right configuration.
Preparing the Solar Panels for Wiring
Once you’ve decided on the configuration, it’s time to prepare the solar panels for wiring. Begin by ensuring that the panels are clean and free of debris. This step is essential not only for safety but also for optimal performance. Next, identify the positive and negative terminals on each panel. Most solar panels are marked, but double-checking this information is crucial to avoid electrical issues later on.
Wiring the Solar Panels Together
Now that your panels are prepared, it’s time to begin wiring. If you are connecting in series, connect the positive terminal of the first panel to the negative terminal of the second panel, and so on. If wiring in parallel, connect all the positive terminals together and all the negative terminals together. Use MC4 connectors for secure connections and ensure all wires are appropriately insulated. After making the connections, double-check to ensure there are no loose or exposed wires, which could lead to short circuits or other electrical hazards.
Connecting the Inverter and Charge Controller
After wiring your solar panels, the next step is to connect them to the inverter and charge controller. The inverter converts the DC electricity generated by the solar panels into AC electricity, which is used by most home appliances. Connect the output wires from the solar panels to the input terminals of the inverter, following the manufacturer’s instructions. If your system includes batteries, connect the charge controller to the batteries before the inverter, as this will manage the power flowing to and from the batteries.
Testing Your Solar Panel System
Once everything is wired up and connected, it’s time to test your solar panel system. Use a multimeter to check the voltage and current output from your solar panels. Ensure that the readings match the expected output for your configuration. If you notice any discrepancies, double-check your wiring connections for any mistakes. Once confirmed, you can switch on the inverter and monitor your system’s performance. This final step is crucial to ensure that your solar energy system operates efficiently and safely.
Conclusion: Embracing Solar Energy
Learning how to wire solar panels is a valuable skill that can lead to significant energy savings and a reduced carbon footprint. With the right tools, planning, and attention to detail, you can successfully set up your solar power system. Remember to always prioritize safety, consult with professionals if needed, and stay informed about local regulations regarding solar energy installations. By embracing solar energy, you are not only investing in your future but also contributing to a more sustainable world.
By following these guidelines, you’ll be well-equipped to tackle your solar panel wiring project with confidence. Whether you’re a DIY enthusiast or simply looking to save on electricity bills, mastering solar panel wiring opens the door to a more environmentally-friendly lifestyle.


