Testing a solar panel is essential for ensuring its efficiency and longevity. Whether you are an enthusiast, a homeowner considering solar energy, or a professional installer, understanding how to test a solar panel can help you diagnose problems, validate performance, and optimize energy production. In this guide, we’ll cover everything you need to know about how to test a solar panel effectively and safely.
Understanding Solar Panel Testing
Before diving into the testing process, it’s important to understand what we mean by “testing a solar panel.” This involves evaluating the panel’s voltage output, current, and overall performance under various conditions. Solar panels are designed to convert sunlight into electricity, and their efficiency can be impacted by factors like shading, dirt accumulation, and faulty connections. Testing helps identify these issues and ensures that your solar panel system is operating at its best.
Essential Tools for Solar Panel Testing
To effectively test a solar panel, you’ll need a few essential tools. A multimeter is a crucial instrument that measures voltage, current, and resistance, allowing you to assess the electrical output of the solar panel. A solar irradiance meter can help you measure the intensity of sunlight hitting the panel, which is vital for understanding its performance. Additionally, a clamp meter can be useful for measuring the current flow in the wires connected to the solar panel. Having these tools on hand will enable you to conduct comprehensive tests and gather accurate data.
Safety Precautions Before Testing
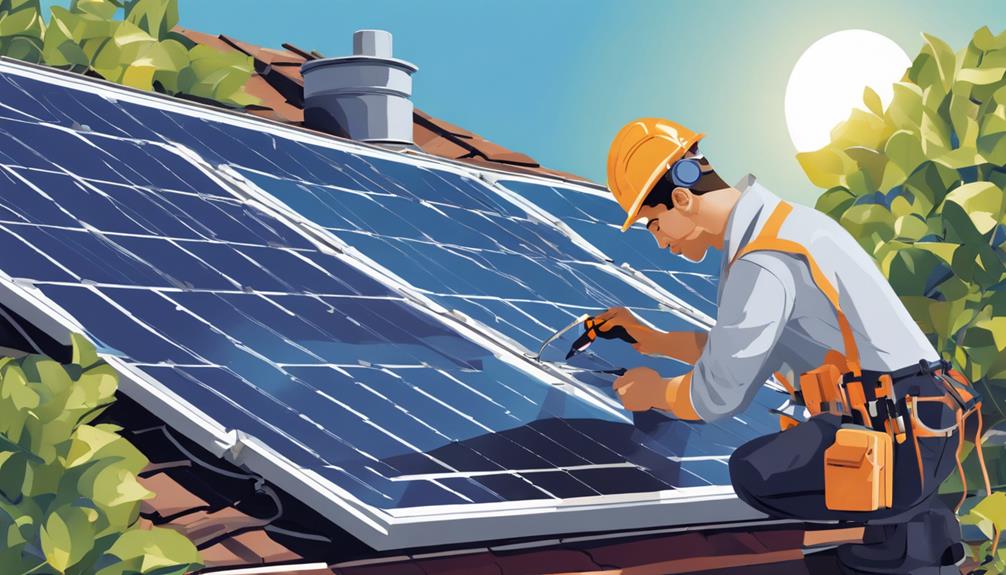
Safety should always be your top priority when testing a solar panel. Before starting, ensure that you are wearing appropriate personal protective equipment (PPE), such as gloves and safety goggles. It’s also important to conduct tests during daylight hours when the solar panel is producing power, but avoid direct contact with the wiring to prevent electrical shock. If you’re working with a roof-mounted panel, ensure that you have stable footing and that your ladder is secure. Following these safety precautions will help you test your solar panel without incident.
Measuring Open Circuit Voltage
One of the first tests you should perform is measuring the open circuit voltage (Voc) of your solar panel. To do this, disconnect the panel from any load or battery and use your multimeter set to the DC voltage setting. Connect the multimeter probes to the positive and negative terminals of the solar panel. The reading you receive should be close to the panel’s rated Voc, typically found in the specifications provided by the manufacturer. If the voltage is significantly lower, this could indicate a problem with the panel or its connections.
Measuring Short Circuit Current
After measuring the open circuit voltage, the next step is to determine the short circuit current (Isc). This test should also be conducted with the solar panel disconnected from any system. Set your multimeter to measure DC current and connect it in series with the panel terminals. Make sure to take this measurement under full sunlight for an accurate reading. The Isc should align with the manufacturer’s specifications; a lower reading could indicate issues such as shading or internal damage to the panel.
Assessing Panel Efficiency Using Solar Irradiance
To gauge the overall efficiency of a solar panel, you can assess its performance against solar irradiance levels. Use a solar irradiance meter to measure the amount of sunlight reaching the panel. This value will help you determine how much power the panel should be generating. Calculate the expected output by multiplying the irradiance level (in watts per square meter) by the panel’s area (in square meters) and its efficiency rating. By comparing this expected output to the actual readings obtained from the voltage and current tests, you can assess the panel’s efficiency effectively.
Identifying Physical Issues and Maintenance Needs
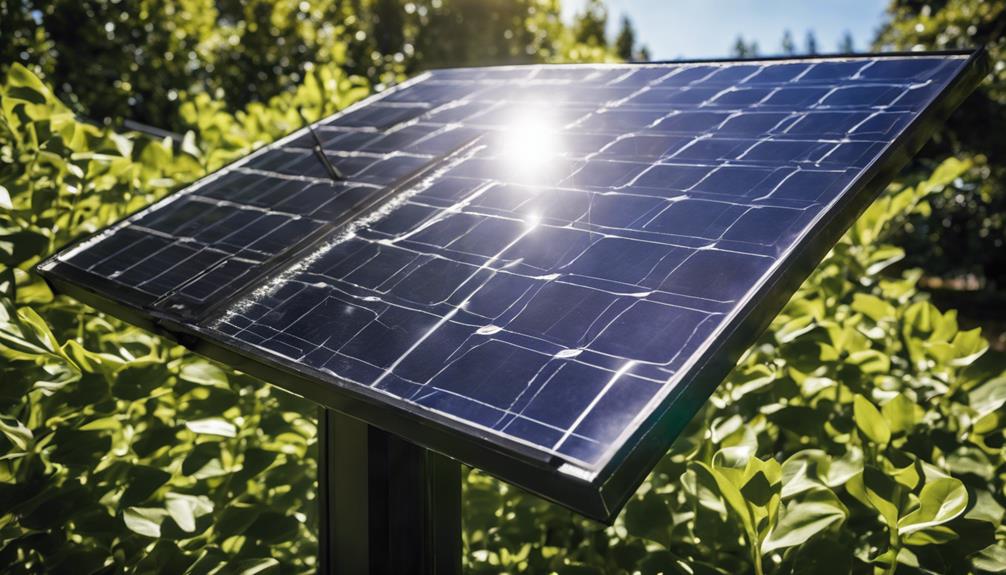
Apart from electrical testing, it’s crucial to conduct a visual inspection of the solar panel. Look for signs of physical damage, such as cracks, discoloration, or dirt accumulation. Dirt and debris can block sunlight and reduce efficiency, so keeping the panel clean is essential. If you see any physical damage, it may be necessary to replace the panel or consult a professional for repairs. Additionally, check the mounting hardware and wiring for signs of wear or corrosion. Regular maintenance will prolong the life of your solar panel and ensure it continues to perform well.
Conclusion: Regular Testing for Optimal Performance
In conclusion, knowing how to test a solar panel is vital for anyone involved in solar energy, whether at a residential or commercial level. Regular testing not only maximizes the panel’s efficiency but also extends its lifespan. By measuring open circuit voltage, short circuit current, and assessing solar irradiance, you can identify potential issues and make informed decisions about maintenance and repairs. Remember to prioritize safety throughout the testing process and maintain your solar panels regularly to enjoy the full benefits of solar energy. With proper care and attention, your solar panels can provide clean, renewable energy for years to come.
By following these guidelines on how to test a solar panel, you can ensure that your solar investment is working as efficiently as possible, providing you with the energy savings and environmental benefits you expect.


