In today’s fast-paced world, security is a paramount concern for homeowners and businesses alike. As technology evolves, so do the tools we use to secure our properties. One such innovative tool is the Arlo Solar Panel Charger. This device not only ensures that your Arlo cameras remain powered continuously but also supports your commitment to sustainability. In this comprehensive guide, we’ll delve into the features, benefits, and installation tips for the Arlo Solar Panel Charger, helping you make an informed decision about enhancing your security setup.
Understanding the Arlo Solar Panel Charger
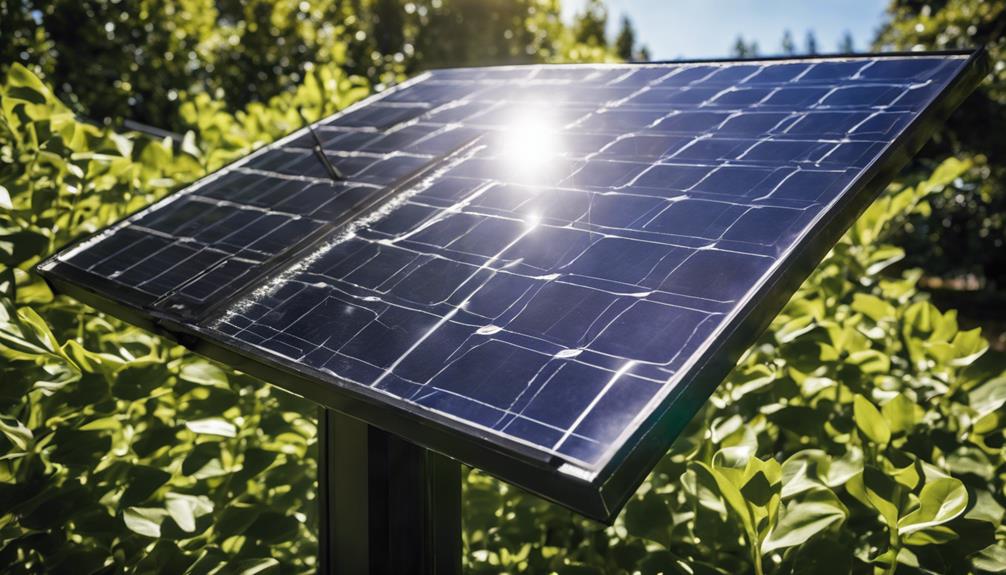
The Arlo Solar Panel Charger is designed specifically for Arlo’s range of wire-free security cameras. Its primary function is to provide a continuous power source to your cameras, eliminating the need for frequent battery replacements. The solar panel harnesses sunlight to generate energy, making it an eco-friendly option. This charger is compatible with several Arlo models, including the Arlo Pro, Pro 2, and Ultra cameras, ensuring that you can keep your surveillance system running without interruption.
Benefits of Using the Arlo Solar Panel Charger
Investing in the Arlo Solar Panel Charger comes with multiple benefits. Firstly, it saves you time and hassle, as you no longer need to climb ladders to change batteries regularly. This convenience allows you to focus on what truly matters – your home’s security. Secondly, the solar charger promotes sustainability by utilizing renewable energy. By generating power from sunlight, you reduce your carbon footprint and contribute to environmental conservation. Lastly, the charger enhances the reliability of your security system, providing peace of mind that your cameras will function around the clock without downtime.
Installation Guide: Setting Up Your Arlo Solar Panel Charger
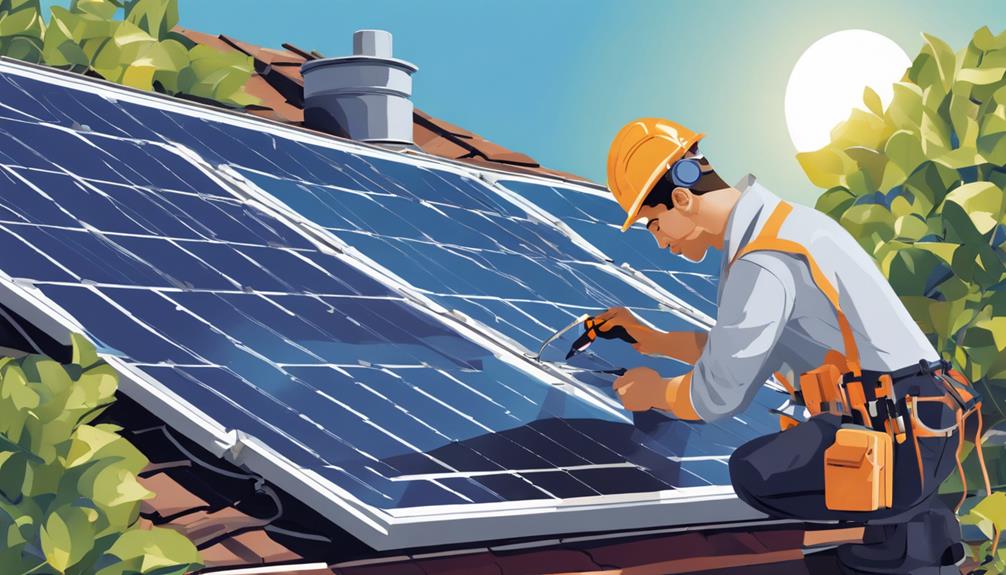
Installing the Arlo Solar Panel Charger is a straightforward process that can be completed in just a few steps. Start by choosing an optimal location for the solar panel, ideally where it can receive direct sunlight for most of the day. Use the provided mounting hardware to securely attach the panel to a wall, tree, or pole. Once the panel is in place, connect the cable to your Arlo camera. Ensure that the connection is tight and secure to prevent any power loss. After completing the installation, monitor your camera’s battery status to ensure the solar charger is functioning correctly.
Ideal Placement for Maximum Efficiency
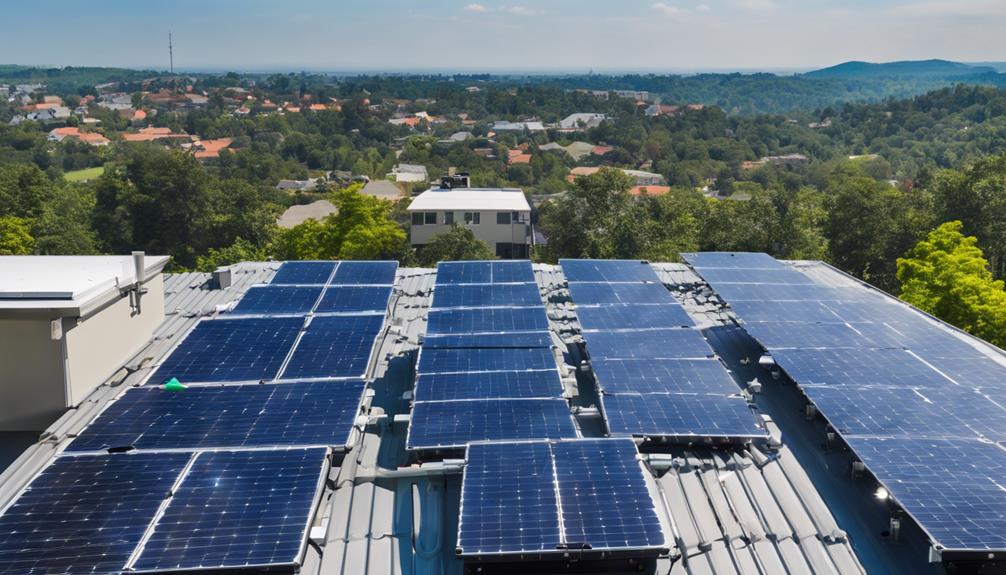
To get the most out of your Arlo Solar Panel Charger, placement is crucial. The best location for the solar panel is one that receives unobstructed sunlight for the majority of the day. Avoid areas shaded by trees, buildings, or other obstructions, as these can significantly reduce the solar panel’s efficiency. Additionally, consider the angle of the sun throughout the day and adjust the panel’s tilt accordingly to capture maximum sunlight. By optimizing the placement, you ensure that your Arlo camera remains charged and operational, enhancing your home’s security.
Common Issues and Troubleshooting Tips
While the Arlo Solar Panel Charger is designed for ease of use, you may encounter some common issues. For instance, if your camera is not charging, check the connection between the solar panel and the camera. Ensure that the cable is securely plugged in and not damaged. Additionally, verify that the solar panel is receiving adequate sunlight. If you notice any physical damage to the panel, it may be necessary to replace it. Regularly cleaning the solar panel surface can also improve its efficiency, as dirt and debris can block sunlight and hinder performance.
Maintenance Tips for Longevity
To ensure the longevity of your Arlo Solar Panel Charger, regular maintenance is essential. Start by cleaning the surface of the solar panel every few months to remove dirt, dust, and debris that can accumulate over time. Use a soft cloth and mild soap to gently wipe the surface, avoiding harsh chemicals that could damage the panel. Additionally, check the connections periodically to ensure they are secure and free from corrosion. By taking these simple steps, you can extend the life of your solar charger and maintain optimal performance for your Arlo cameras.
Comparing the Arlo Solar Panel Charger to Other Power Solutions
When considering power solutions for your Arlo cameras, it’s essential to compare the Arlo Solar Panel Charger with other options. While traditional battery replacements can be convenient, they require ongoing time and expense. Conversely, hardwired solutions may offer a constant power supply, but they can be complex to install and may require professional assistance. The solar panel charger combines the best of both worlds – it is user-friendly, cost-effective in the long run, and environmentally friendly. Making an informed choice between these options can significantly impact the efficiency and sustainability of your security system.
Conclusion: Invest in Security with the Arlo Solar Panel Charger
In conclusion, the Arlo Solar Panel Charger is an invaluable addition to your home security setup. With its ability to provide continuous power, promote sustainability, and reduce maintenance hassles, it stands out as a practical solution for keeping your Arlo cameras operational. By following the installation tips, optimizing placement, and performing regular maintenance, you can enjoy uninterrupted security coverage. Investing in the Arlo Solar Panel Charger not only enhances your peace of mind but also contributes to a greener planet. Don’t compromise on security – make the switch to solar power today!
—
This SEO-optimized blog post is structured to engage readers and rank well in search engines, providing a comprehensive overview of the Arlo Solar Panel Charger while adhering to best practices.


