As outdoor enthusiasts, wildlife watchers, or security-conscious individuals, we all want to capture the best moments without constantly worrying about battery life. That’s where the trail camera solar panel comes into play. In this guide, we will explore the benefits, installation tips, and best practices for using solar panels with your trail cameras, ensuring you never miss a moment in the wild.
Understanding Trail Cameras and Their Power Needs
Trail cameras have become an essential tool for wildlife observation and security. They allow users to capture high-quality images and videos of animals and intruders alike. However, one common challenge users face is the frequent need to replace or recharge batteries. Most trail cameras use AA batteries, which can run out quickly, especially in cold weather or during extended use. This is where a trail camera solar panel comes in handy, providing a continuous power source that significantly extends the life of your camera.
The Benefits of Using a Trail Camera Solar Panel
Incorporating a solar panel into your trail camera setup offers numerous advantages. First and foremost, it eliminates the need for constant battery replacement, saving you both time and money. Additionally, a solar-powered trail camera is more environmentally friendly, reducing battery waste. Many solar panels are designed with built-in rechargeable batteries, ensuring that your camera remains powered even during cloudy days or extended periods away from a power source. This means that you can set your camera up and forget about it, allowing you to capture wildlife activity over longer periods without interruption.
Choosing the Right Solar Panel for Your Trail Camera
Selecting the right trail camera solar panel is crucial for ensuring optimal performance. When shopping for a solar panel, consider factors such as compatibility with your specific camera model, output voltage, and wattage. Some panels are designed to work with multiple camera brands, while others are tailored for specific models. Additionally, look for features like weather resistance and mounting options. A high-quality solar panel should be durable enough to withstand the elements while providing consistent power.
Installation Tips for Trail Camera Solar Panels
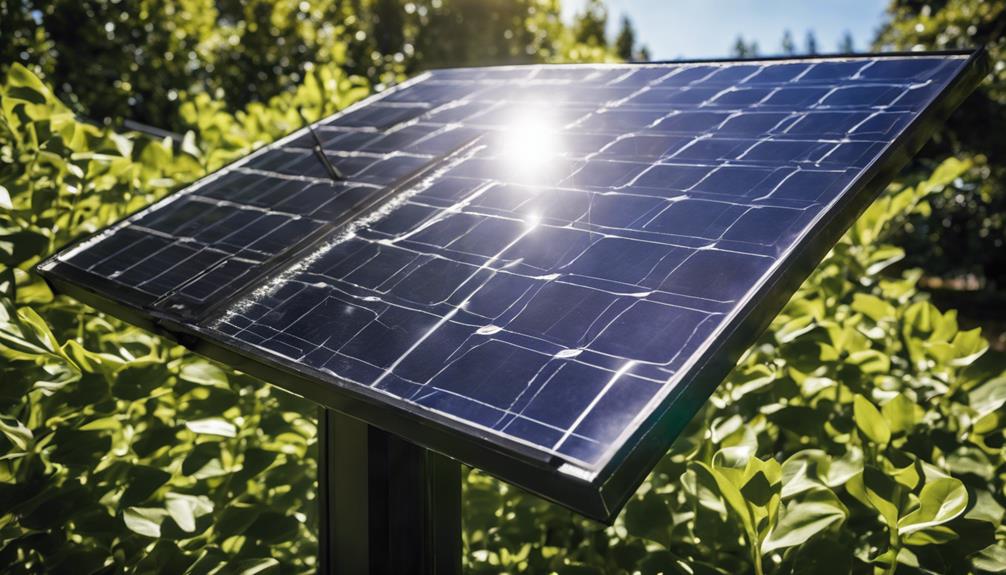
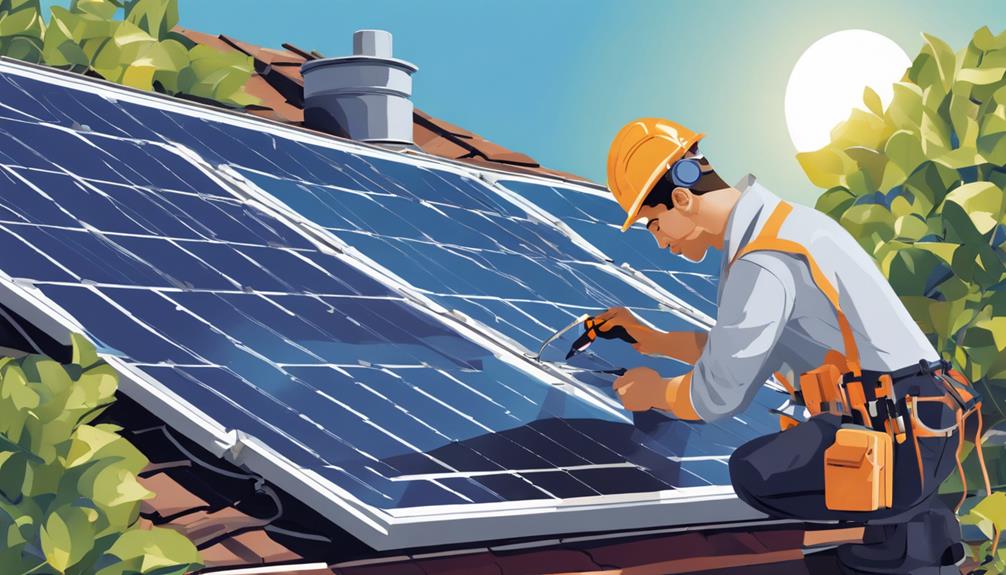
Installing a trail camera solar panel is straightforward, but there are a few tips to ensure a successful setup. First, choose a location for your solar panel that receives maximum sunlight exposure throughout the day. Ideally, it should be positioned facing south or southwest to capture the most sunlight. Ensure that the panel is mounted securely, as wind or wildlife could dislodge it. Connect the solar panel to your trail camera according to the manufacturer’s instructions, making sure the cables are protected from the elements. Lastly, regularly check the panel and camera connections to ensure everything is functioning properly.
How to Maintain Your Trail Camera Solar Panel
To ensure that your trail camera solar panel continues to operate efficiently, regular maintenance is essential. Start by cleaning the solar panel surface to remove any dirt, dust, or debris that may block sunlight. Use a soft cloth and mild soap to prevent scratches. Additionally, check for any signs of damage or wear on the panel and connections, as these can reduce efficiency. Periodically inspect the battery life indicator (if available) to ensure everything is functioning as expected, and replace any damaged components promptly.
Maximizing Efficiency: Tips for Optimal Use
To get the most out of your trail camera solar panel, consider optimizing your camera settings. Set your camera to take fewer images or videos during low-activity periods, as this will conserve power. Additionally, utilize time-lapse or motion detection modes to capture key moments while minimizing energy consumption. If your camera has adjustable settings for image quality, consider lowering the resolution for extended battery life. By making these adjustments, you can ensure that your solar panel is used efficiently and effectively.
Common Issues and Troubleshooting Solar Panels
While trail camera solar panels are generally reliable, users may encounter common issues. One frequent problem is insufficient power supply, often caused by a dirty or obstructed solar panel. Ensure that the panel is clean and free from debris. If your camera isn’t receiving power, check the connections and cables for any damage. Additionally, monitor the performance of the rechargeable battery, as it may need replacing after prolonged use. If you experience persistent issues, consult the manufacturer’s troubleshooting guide for more specific solutions.
Conclusion: Why Every Outdoor Enthusiast Needs a Trail Camera Solar Panel
In conclusion, a trail camera solar panel is an essential accessory for anyone serious about wildlife observation, monitoring property, or simply enjoying the great outdoors. Not only does it provide a continuous power source that eliminates the hassle of battery replacement, but it also promotes environmentally friendly practices. By following the tips outlined in this guide, you can enhance the performance of your trail camera setup and ensure that you capture every unforgettable moment in the wild. Whether you’re a seasoned photographer or a casual nature lover, investing in a solar panel for your trail camera will undoubtedly elevate your outdoor experiences.


