Trail cameras have revolutionized wildlife observation and hunting practices, providing enthusiasts with a window into the daily lives of animals. However, to maximize the efficiency and lifespan of your trail camera, integrating a solar panel is essential. In this guide, we will explore the benefits, installation tips, and maintenance of trail camera solar panels, ensuring you make the most out of your outdoor adventures.
Understanding Trail Cameras and Their Power Needs
Trail cameras are equipped with motion sensors and high-quality lenses that capture images or video footage of wildlife. These cameras are often used for hunting, wildlife research, or simply for the joy of observing nature. However, trail cameras require a significant amount of power, particularly if used frequently or in areas with limited sunlight. Standard battery life can be short-lived, leading to missed opportunities and the hassle of frequent battery changes. This is where trail camera solar panels come into play, providing a sustainable and efficient power source for your outdoor equipment.
The Benefits of Using a Solar Panel for Your Trail Camera
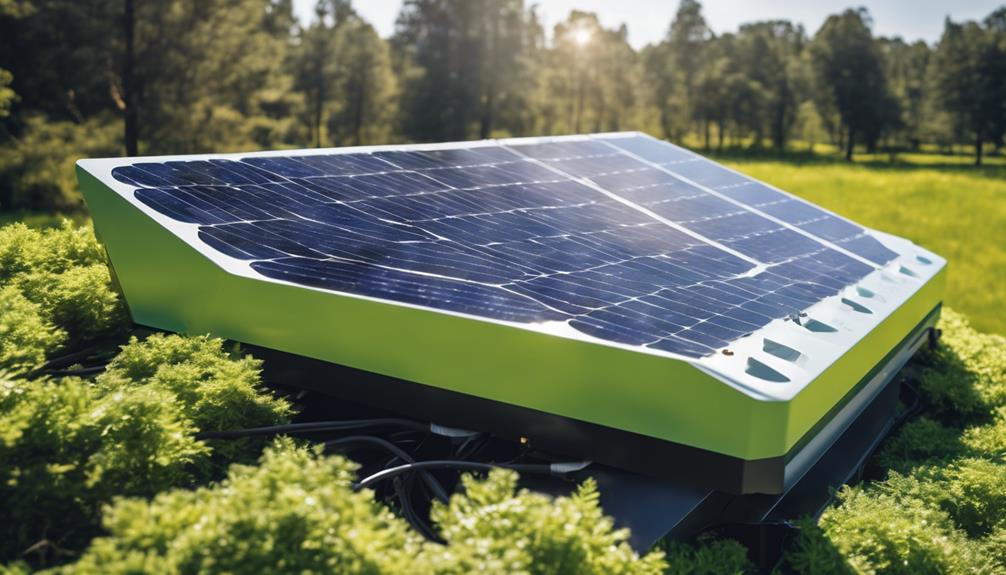
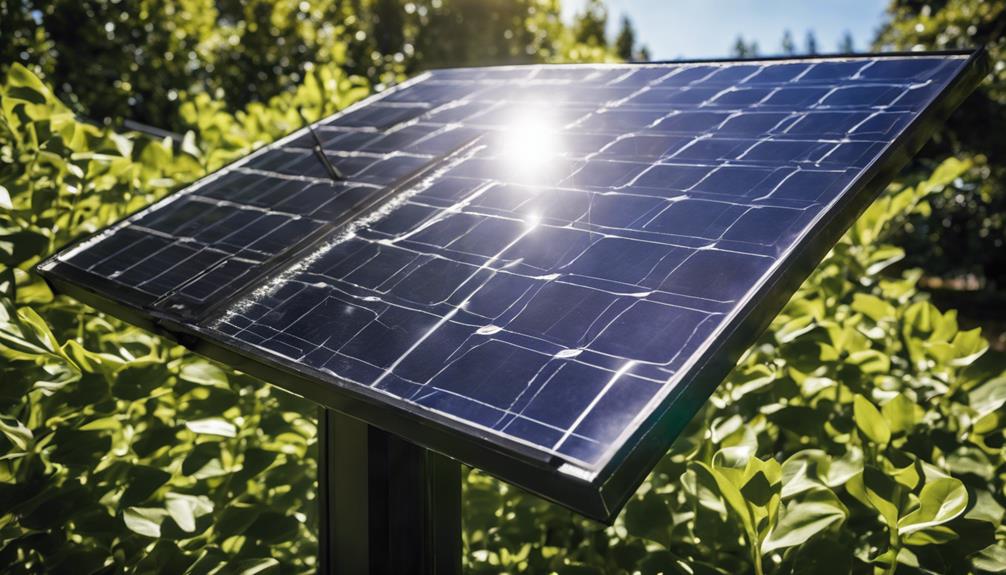
One of the most significant advantages of using a trail camera solar panel is the extended operational time it offers. By harnessing solar energy, these panels can keep your camera powered continuously, reducing the need for regular battery replacements. This is especially beneficial for remote locations, where access to power sources is limited. Additionally, solar panels are eco-friendly, allowing you to observe wildlife without contributing to environmental degradation. Furthermore, many solar panels are designed to be weather-resistant, ensuring durability in various outdoor conditions.
Choosing the Right Trail Camera Solar Panel
When selecting a solar panel for your trail camera, there are several factors to consider. First, ensure that the solar panel is compatible with your specific camera model. Most manufacturers provide compatibility lists, making it easier for you to find an appropriate match. Next, consider the solar panel’s wattage. Higher wattage panels will charge your camera faster and provide power for longer durations. Additionally, look for features like built-in batteries, which can store energy for nighttime use when solar power is unavailable. Lastly, read reviews to gauge the performance and reliability of the solar panel before making a purchase.
How to Install Your Trail Camera Solar Panel
Installing a trail camera solar panel is a straightforward process, but it requires careful planning to ensure optimal placement. Start by selecting a location that receives ample sunlight throughout the day. Avoid shaded areas, as they will hinder the panel’s ability to charge effectively. Follow the manufacturer’s instructions for mounting the panel, ensuring it is securely attached to a tree or structure. Connect the solar panel to your trail camera using the provided cables. Ensure that the connections are tight and secure to prevent any power loss. Lastly, after installation, test the setup to confirm that the camera is receiving power from the solar panel.
Maintaining Your Trail Camera Solar Panel
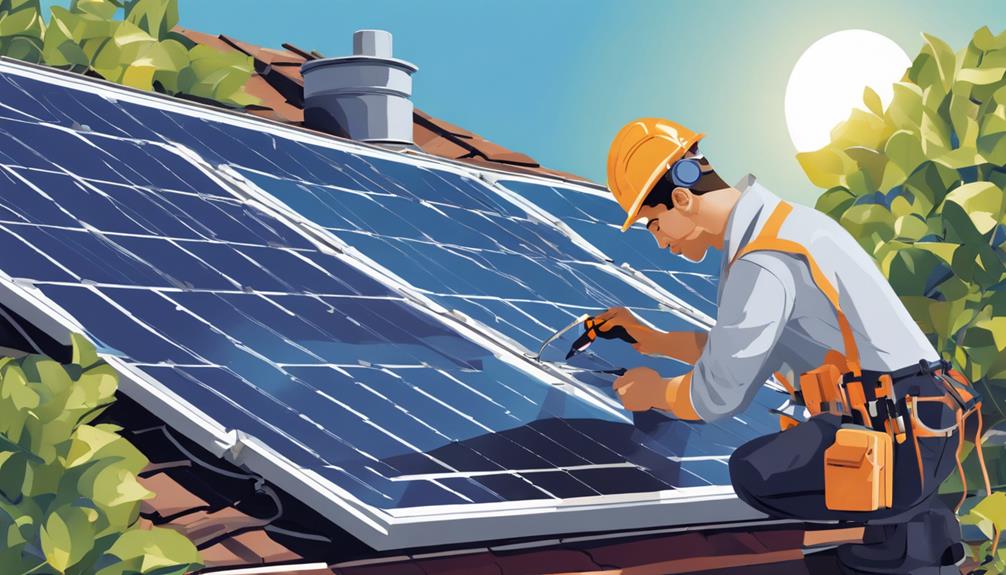
To ensure the longevity and efficiency of your trail camera solar panel, regular maintenance is crucial. Start by keeping the panel clean; dirt, leaves, or snow can obstruct sunlight and reduce charging efficiency. Periodically inspect the connections to ensure they remain secure and free of corrosion. If your panel has a built-in battery, check its charge level regularly, especially before long trips. Additionally, it’s wise to monitor the performance of your trail camera to ensure it’s functioning optimally. By taking these steps, you can maximize the lifespan of both your camera and solar panel.
Common Issues and Troubleshooting with Solar Panels
While trail camera solar panels are generally reliable, issues can arise. One common problem is insufficient power due to inadequate sunlight exposure. If your camera isn’t functioning as expected, check the solar panel’s location and adjust its position for better sun exposure. Additionally, ensure that the connections are intact and that there is no damage to the cables. If the built-in battery appears to be malfunctioning, consider replacing it. Regularly reviewing the camera’s settings can also help, as certain configurations may drain power more quickly than others.
Maximizing the Efficiency of Your Trail Camera Setup
To get the most out of your trail camera and solar panel setup, consider strategic planning for camera placement and settings. Position your camera in high-traffic areas where wildlife is likely to pass, and adjust the sensitivity settings to capture more activity without excessive power drain. Utilizing features like time-lapse mode can also conserve battery life while providing valuable footage. Additionally, consider combining your solar panel with a secondary power source, like rechargeable batteries, to ensure uninterrupted power during cloudy days or extended periods of low sunlight.
Conclusion: Embrace the Power of Solar for Your Trail Camera
In conclusion, a trail camera solar panel is an invaluable addition to any outdoor enthusiast’s gear. By extending the operational life of your trail camera and reducing the need for frequent battery changes, solar panels allow you to focus on what you love most: observing wildlife. With the right solar panel, proper installation, and regular maintenance, you can enhance your outdoor experience and capture stunning footage of nature in action. Embrace the power of solar and elevate your trail camera adventures today!
By following this guide, you can ensure your trail camera runs smoothly, allowing you to enjoy uninterrupted wildlife observation while contributing to a more sustainable outdoor experience.


